My New Ride
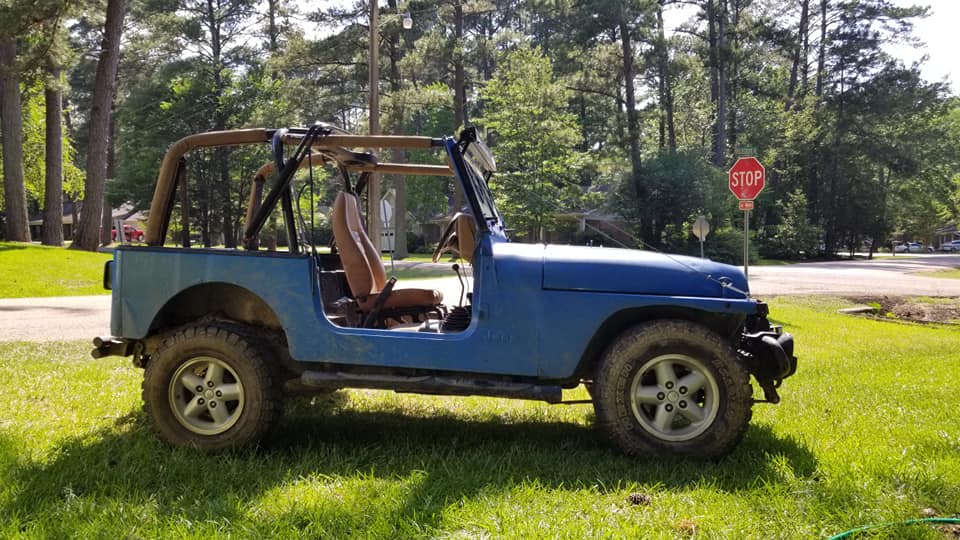
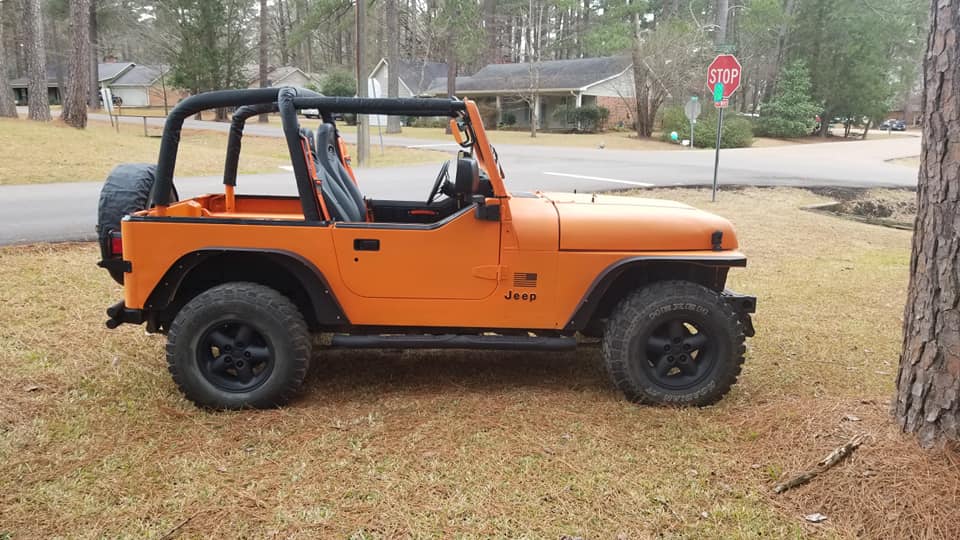
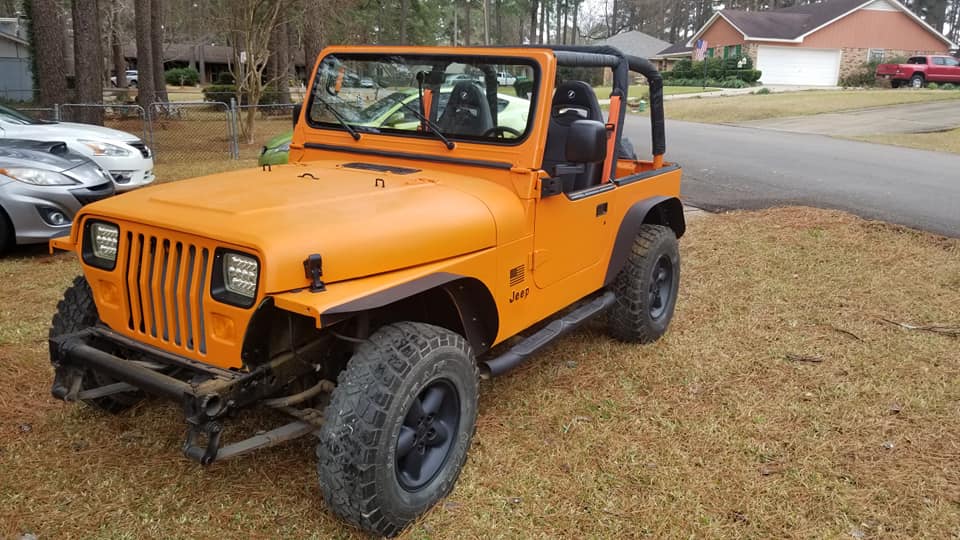
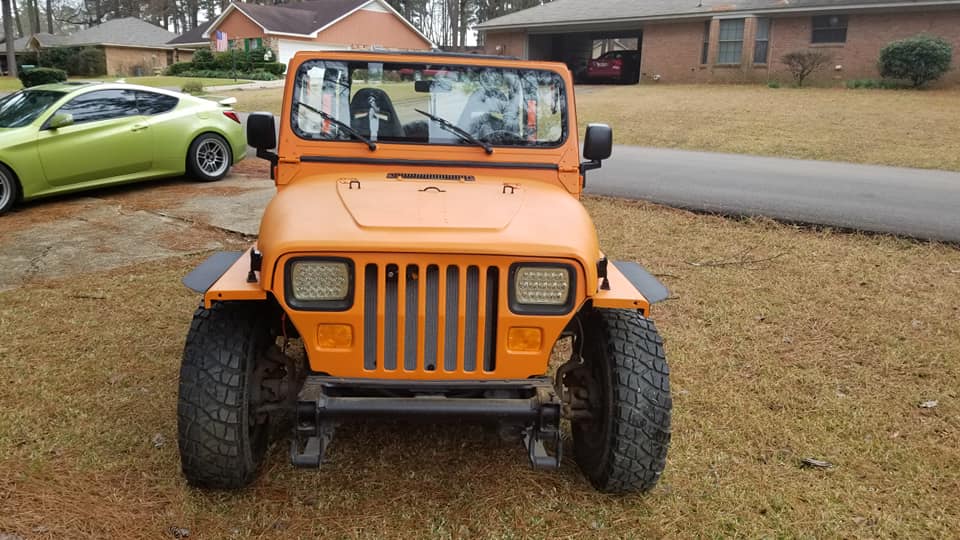
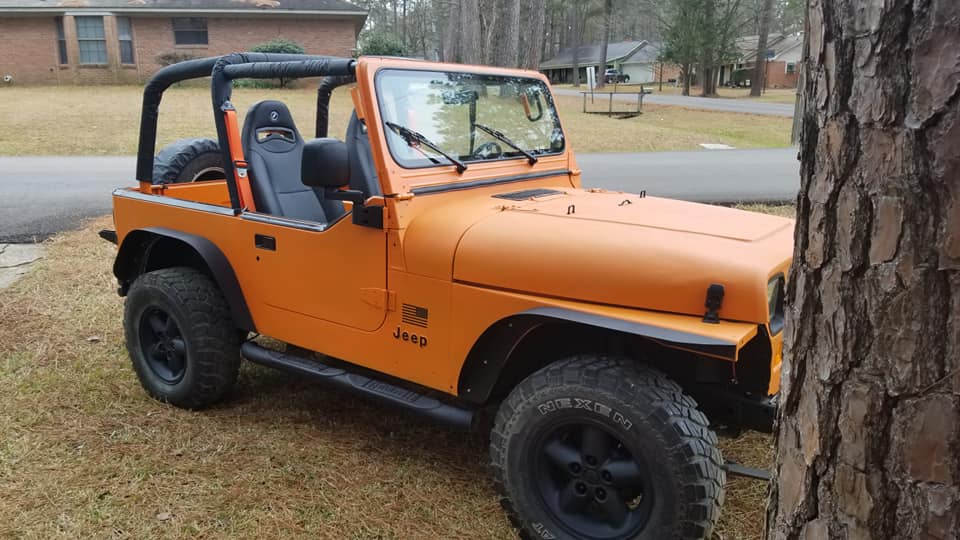
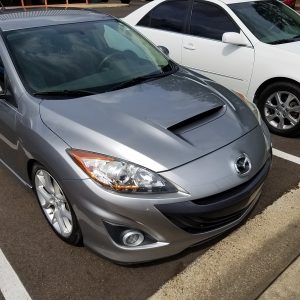
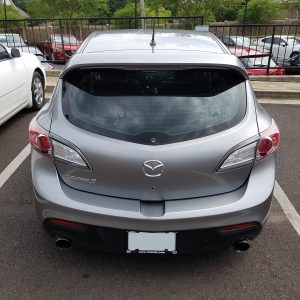
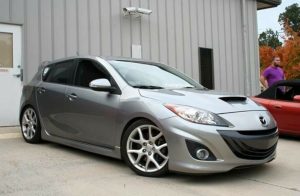
In October 2022 I began looking into buying a new car. Wes had purchased a new Honda Accord 2.0T Sport after his accident in Dec 2021 and I was really impressed with the HP it had. I went to Bob Boyte Honda where Wes purchased his vehicle from and met Kuzie. Kuzie had several Accords in stock but they were all white. I didn’t really want a white car and I wasn’t in need of a new car. My 2010 Mazdaspeed 3 was running fine and best of all, it was paid off. So I was in no hurry to purchase. Wes and I were still working on the Jeep and enjoying driving it and in Oct 21 we also purchased a used JetSki in need of a rebuild. We had a lot to do. So into 2022 we were busy working on both.
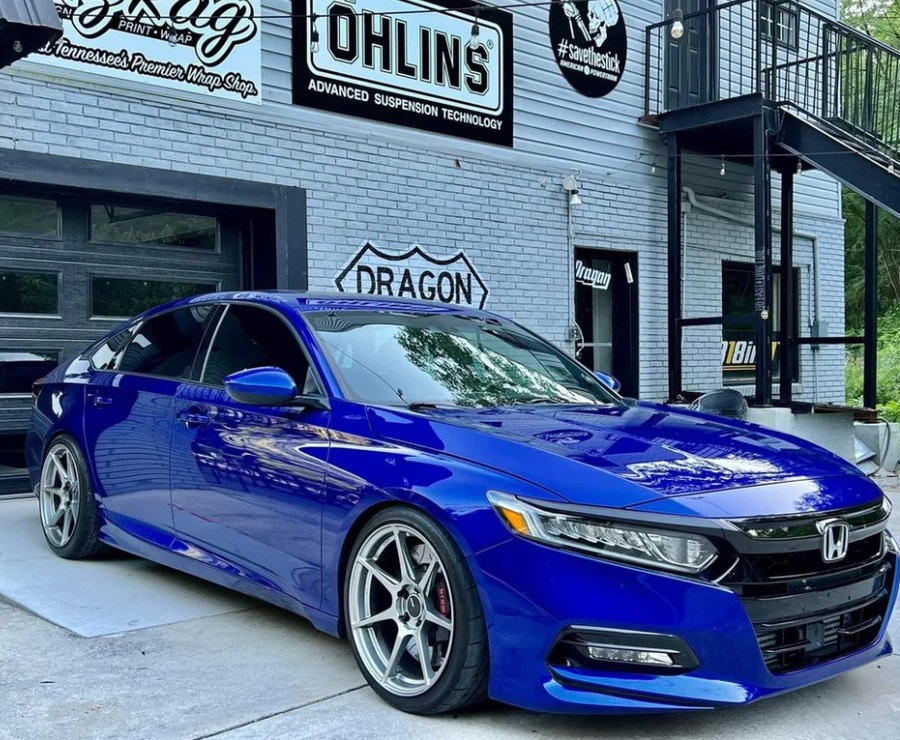
Come Wednesday January 4th 2023, Wes text me that Corey is at Bob Boyte Honda trying to work a deal for a Type R. When he told me the Accord was traded I was curious what they were going to ask for it. I text Kuzie and inquired. He said, “Sure, we have it. Want to come take it for a test drive?” I said, “No, I already know all about the car; I just need to know how much you’re asking for it.” I contacted my banker and Saturday the 7th I went and picked up this beauty.
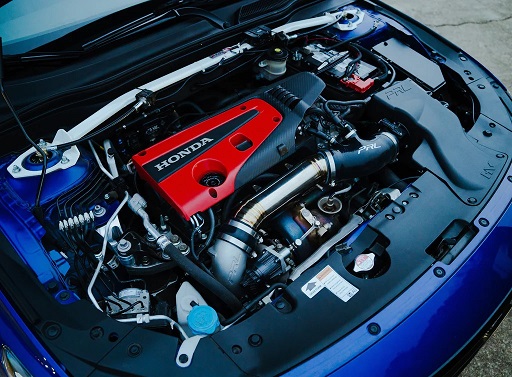
To date I’ve only installed the Remark exhaust with Vibrant resonator, Android car play device and an AudiControl LC-1.800 Amp and Kicker 48TRTP122 downward-firing enclosure with a CompRT 12″ shallow-mount subwoofer and passive radiator. Had to get the bass back. Everything else was already installed by Corey @ Two Step Performance.
Modifications
PRL 2.0T V2 High Volume Intake System
PRL Type-R FK8 Titanium Turbocharger Inlet Pipe Kit
PRL 2.0T P600 Drop-In Turbocharger
PRL Intercooler Upgrade w/ Charge Pipe Upgrade Kit
PRL 2.0T Front Pipe Upgrade
PRL 2.0T Ethanol Content Analyzer/Flex Fuel Kit
TSP High Efficiency Catted Downpipe
HASport Rear Motor Mount 62A
Ultra Racing Front Strut Tower Brace
Ultra Racing Rear Torsion Bar
Progress Tech Rear Anti-Sway Bar
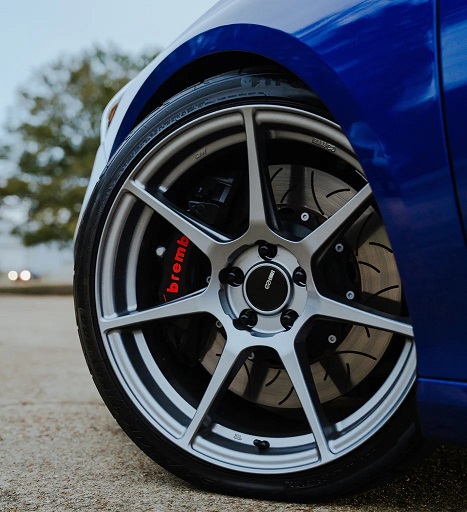
Porsche OEM Calipers w/ Two-piece Slotted Rotors
Tein Coilover Suspension
Enkei Tuning Series TFR Storm Grey 19×9.5, Concaves Spoke, 35mm inset (516-995-6535)
Remark Sports Touring Catback Exhaust
Vibrant Resonator
KTuner V2 – w/TunerView
Custom Tune by DRob
JetsVinyl Window Chrome Delete Kit
Android CarPlay Wireless Adapter